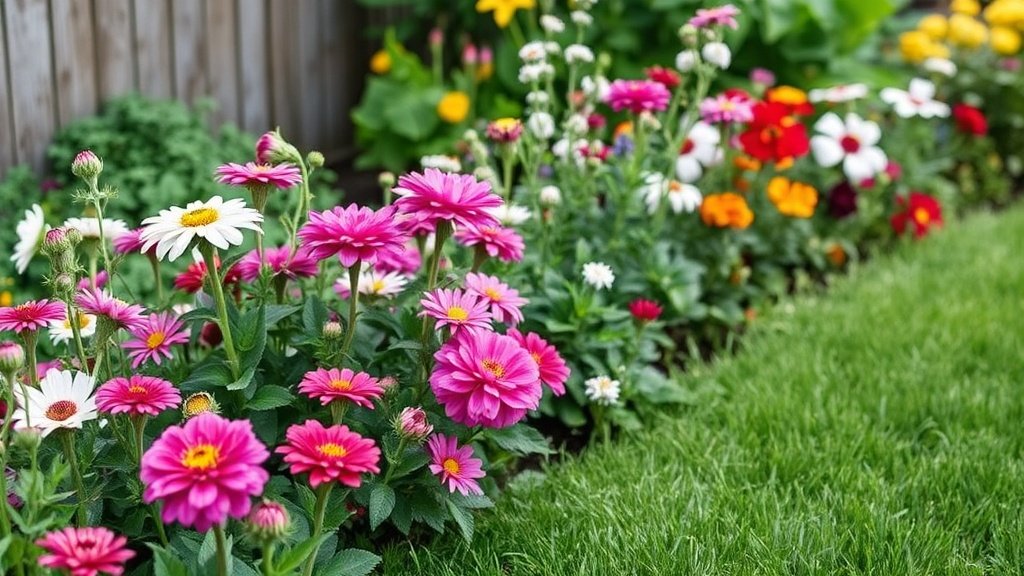
The Secret to a Professional Garden Look
Have you ever looked at a professionally landscaped yard and wondered why it feels so lush, balanced, and visually exciting? The secret usually isn’t rare, expensive plants. It is the art of layering. When you build a layered garden border, you create depth, movement, and a seamless flow from the lawn to the fence or foundation of your home.
By thoughtfully arranging plants by height, texture, and color, you ensure that every single plant gets its moment in the spotlight. No more hidden flowers or flat, uninspired rows. Here is how to design and plant a stunning, multi-dimensional border that will make your neighbors look twice.
Step 1: Map Your Space and Soil
Before you buy a single plant, assess your canvas. Most garden borders look best when they are at least three to four feet deep, giving you enough room to create distinct layers.
- Check the light: Note how many hours of direct sunlight the area receives daily. Sun-loving perennials will struggle in deep shade.
- Test the soil: Grab a handful of earth. Does it crumble easily, or is it heavy clay? Improving your soil with organic compost now sets the foundation for healthy plants later.
- Define the edge: Use a garden hose or spray paint to map out a gentle, sweeping curve rather than a rigid straight line. Curves soften the hard edges of your yard.
Step 2: Establish the Back Layer (The Backdrop)
Every great stage needs a backdrop. The back layer of your border should feature your tallest plants, typically growing anywhere from four to six feet high. This layer hides blank fences, ugly foundation walls, or property lines and creates a cozy, enclosed feel for your yard.
What to plant: Choose tall, sturdy perennials like Joe Pye weed, tall ornamental grasses, or flowering shrubs like hydrangeas and viburnum. If you are working against a brick wall or wooden fence, ensure the colors of these backdrop plants complement your home’s exterior.
Step 3: Craft the Middle Layer (The Transition)
The middle layer is the hardworking heart of your border. Ranging from two to three feet tall, this zone bridges the gap between the towering backdrop and the low edges. This is where you introduce a rich mix of colors and textures to keep the garden visually engaging.
Balancing flowers and foliage: Don’t rely solely on blooms. Flowers fade, but foliage stays fresh for months. Intersperse flowering perennials like coneflowers, black-eyed Susans, and salvia with foliage-heavy plants like hostas, coral bells, or ferns. The contrast of broad leaves next to fine, spiky foliage adds immediate professional polish.
Step 4: Plant the Front Edge (The Carpet)
The front layer anchors your border to the lawn or walkway. Plants here should stay low—usually under twelve to eighteen inches—so they don’t block the view of the layers behind them and won’t spill hazardously across your path.
What to plant: Creeping phlox, sweet alyssum, lady’s mantle, or dwarf lamb’s ear work wonderfully. This edging layer softens the hard line where the grass meets the dirt, making the entire garden bed feel grounded and intentionally designed.
Step 5: Introduce Strategic Focal Points
A garden border made entirely of plants can sometimes blur together into a green wave. To prevent this, you need visual anchors known as focal points.
A focal point draws the eye, creates a sense of rhythm, and gives the viewer’s gaze a place to rest. You can achieve this with:
- Architectural plants: Use a uniquely shaped plant, like a weeping evergreen or a dramatic yucca, to break up the horizontal lines of the surrounding foliage.
- Garden decor: Place a charming garden statue, a rustic birdbath, or a handcrafted focal piece slightly off-center within the middle layer.
- Color repetition: Plant clusters of a brightly colored flower or bold dark-leafed foliage in sets of three or five to pull the eye naturally across the length of the entire bed.
Maintenance Tips for Long-Term Success
Once your layered garden border is in the ground, a little routine care keeps it looking its best. Apply a two-inch layer of organic mulch across the bare soil between plants to lock in moisture and suppress weeds. As the seasons change, step back and observe your creation: if a middle-layer plant is stretching too high and blocking the back layer, make a note to divide or prune it next spring. Enjoy watching your dynamic new garden come to life!